Multi-ligament knee injuries are high-stakes because instability patterns can evolve as swelling and guarding change, and because neurovascular compromise can be present even when the joint looks “reduced.” This workflow is designed for multiligament knee injury assessment across ED, urgent care, sports medicine, and physiotherapy handovers, using a practical multiligament knee injury checklist style that supports documentation, communication, and escalation. The goal is not to “name every torn structure” on day 0, but to (1) protect limb and nerve function, (2) identify probable injury patterns (ACL/PCL/MCL/LCL/PLC), (3) decide what needs urgent imaging or specialist input, and (4) create a repeatable baseline for follow-up testing and treatment planning.
1. Multiligament knee injury assessment: first 10 minutes (limb-first workflow)
This multiligament knee injury assessment starts with safety and limb preservation, not special tests. A knee dislocation may be obvious, subtle, or spontaneously reduced. Treat any gross instability with high suspicion.
1.1 Immediate actions (do these before detailed laxity testing)
- Analgesia and calm positioning: splint in the position of comfort, then transition to an immobilizer once aligned and examined.
- Neurovascular check and documentation (repeatable baseline): dorsalis pedis and posterior tibial pulses, capillary refill, skin temperature/color, and peroneal/tibial nerve function (EHL/TA strength, plantarflexion, dorsal foot sensation, plantar sensation).
- Look for open injury, skin tenting, severe deformity, or expanding hematoma.
- Consider compartment syndrome in high-energy trauma or worsening pain with passive stretch.
- If dislocated or grossly malaligned, perform urgent reduction per local protocol and re-check neurovascular status immediately after.
1.2 Decision aid: when this becomes an emergency pathway
- If pulses are absent/diminished, ABI is concerning, or neurovascular status is deteriorating, escalate immediately for vascular assessment and appropriate imaging per local policy.
- If the knee is unstable enough that it repeatedly subluxes, treat as a “functional dislocation” and immobilize.
- If there is a high-energy mechanism, polytrauma, or equivocal exam due to pain, use a structured acute pathway such as triage to standardize escalation and time-critical steps.
In suspected knee dislocation ligament assessment, serial examinations matter: one normal pulse check does not replace repeat checks after reduction, splinting, and analgesia.
Operational note: Super et al. (2026) highlights how multiligament injuries commonly require coordinated assessment and staged decision-making, which is exactly what this workflow is designed to support.
If your multiligament knee injury assessment identifies any uncertainty about vascular status, align your next step with local protocols and specialist input rather than “watch and wait.”
2. Secondary survey: mechanism, risk flags, and a knee dislocation ligament assessment snapshot
In multiligament knee injury assessment, mechanism and context often predict the injured side (medial vs lateral) and the likelihood of PLC involvement. Capture this while the story is fresh, and before analgesia and sedation blur details.
2.1 Mechanism checklist (document exactly, not loosely)
- High-energy (MVC, fall from height) vs low-energy (pivoting, tackle) vs ultra-low-energy in higher BMI patients.
- Direction of force: varus/hyperextension, valgus/rotation, dashboard-type posterior force, noncontact deceleration.
- Immediate “pop,” visible deformity, spontaneous reduction, inability to bear weight.
- Time since injury and any interim reduction attempts.
2.2 Symptoms that change your threshold for escalation
- Neuro symptoms: foot drop, dorsal foot numbness, burning pain along peroneal distribution.
- Vascular symptoms: cool foot, color change, escalating swelling, pain out of proportion.
- Mechanical block or locked knee (consider displaced meniscus or osteochondral injury).
To keep language consistent between clinicians, define what you mean by instability and relate it to laxity concepts (translation vs rotation, endpoint quality, and side-to-side comparison) rather than using only subjective terms like “loose.”
Document in multiligament knee injury assessment: baseline ROM tolerance, effusion grade, ability to straight-leg raise (extensor mechanism), and whether guarding limited the exam.
3. Focused exam: Multiligament knee injury checklist for pattern recognition (ACL, PCL, collateral, PLC)
Use this multiligament knee injury assessment section to build a pattern you can communicate: “suspected PCL + PLC with varus laxity and increased external rotation” is more actionable than listing isolated tests without interpretation. For a standardized exam flow, align with an objective framework and repeat it after swelling and pain control improve.
3.1 Set-up rules that reduce false negatives
- Compare to the contralateral knee whenever possible.
- Check and record endpoint quality (firm vs soft) in addition to excursion.
- Guarding matters: if pain prevents a meaningful exam, defer certain maneuvers and plan reassessment.
- Repeat multiligament knee injury assessment after reduction, immobilization, and analgesia, and again at early follow-up.
3.2 Multiligament knee injury checklist (do not skip the “side structures”)
- Effusion/hemarthrosis and ROM: note painful arcs and extension lag.
- ACL: Lachman (endpoint), anterior drawer (guarding-sensitive).
- PCL: posterior sag sign, posterior drawer, quadriceps active test.
- MCL: valgus stress at 0 and 30 degrees using a consistent valgus grading approach.
- LCL: varus stress at 0 and 30 degrees.
- posterolateral corner injury evaluation: dial test (30 and 90 degrees), posterolateral drawer, reverse pivot shift, varus recurvatum (context-dependent), and observe for external rotation asymmetry.
- Peroneal nerve: TA/EHL strength and dorsal foot sensation, documented explicitly.
3.3 Rotational instability: how to write it down so others can act
For rotatory instability pivot shift grading, document whether the maneuver was attempted, whether guarding limited it, and what grade you observed. If you see a high-grade pivot shift or a dramatic clunk suggesting major rotational instability, follow a structured escalation and planning pathway such as pivot-shift guidance rather than treating it as “just an ACL.”
A consistent multiligament knee injury assessment reduces missed combined injuries, especially PCL-PLC patterns where isolated “ACL thinking” can mislead early decisions.
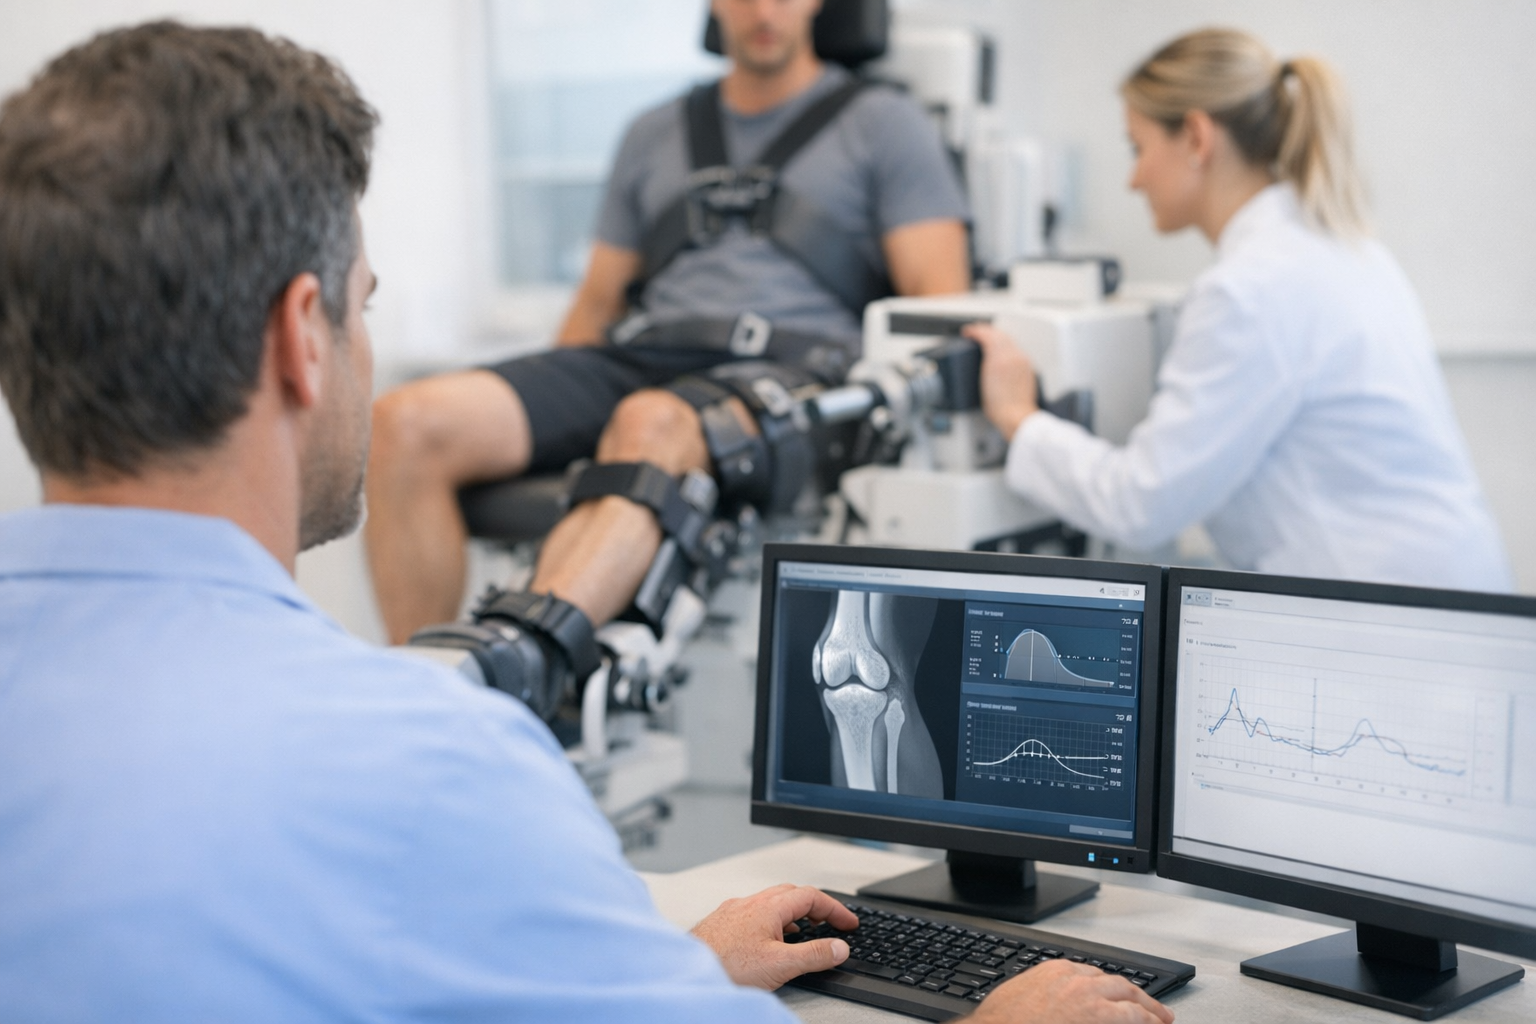
4. Objective instability quantification in complex knees (where arthrometers fit)
Add objective measures to multiligament knee injury assessment when the question is “how much side-to-side instability is present today?” and when you need repeatable baselines across clinicians, visits, or rehab phases. This is where instrumented knee laxity testing may complement manual tests by quantifying translation and comparing limbs under standardized loads.
4.1 When to consider instrumented measures (and when not to)
- Helpful: equivocal manual exam due to guarding, swelling, or high BMI; documenting baseline before and after bracing; follow-up trend tracking in nonoperative trials; return-to-activity monitoring.
- Use caution: grossly unstable or dislocated knees in the acute phase, suspected fracture, concerning vascular findings, or when patient comfort is inadequate for safe testing.
When pain limits exam, multiligament knee injury assessment may include instrumented testing later in the timeline, alongside imaging and repeat manual exams, to reduce reliance on a single snapshot.
4.2 Workflow integration (keep it multi-axis)
In multi-ligament patterns, avoid measuring only one plane. A structured multi-axis approach helps connect translation and rotation findings to likely injured structures.
- Use a consistent protocol and document: device, load levels, side-to-side difference, patient tolerance, and whether guarding was observed.
- Pair objective numbers with your manual endpoint assessment and patient-reported instability episodes.
- Trend results across visits within multiligament knee injury assessment, rather than over-interpreting a single measurement.
Clinically, teams may use systems such as the GNRB arthrometer knee laxity workflow for anterior translation quantification, or devices like the Dyneelax arthrometer when building standardized testing into clinic pathways.
If you are evaluating internal consistency and repeatability in your own setting, note the evidence discussions around Dyneelax arthrometer reliability and align local protocols with published methods such as reliability reporting.
Keep this positioning explicit in documentation: objective laxity metrics complement clinical examination and MRI, adding functional information, but they do not replace imaging when internal derangements or surgical planning questions exist. For a broader menu of options and practical constraints, see testing.
5. Imaging, stress views, disposition, and next steps (closing section)
Imaging completes multiligament knee injury assessment by clarifying fractures, osteochondral injury, meniscus/cartilage pathology, and the full injury map for operative planning. Choose imaging based on risk, not curiosity, and communicate what clinical question you are trying to answer.
5.1 Imaging workflow (operational and role-based)
- Plain radiographs: rule out fracture, avulsion patterns (Segond, fibular head avulsion), alignment, and tibial slope considerations.
- Vascular imaging: if pulses/ABI/exam are concerning, follow local emergent pathways.
- MRI: typically required to assess associated injuries (meniscus, cartilage, bone bruising) and for pre-operative planning when reconstruction is considered, even if objective instability testing helps quantify functional laxity.
For borderline or equivocal scenarios (for example, suspected partial ACL involvement in a complex knee), you may use a combined imaging plus instability workflow such as borderline pathways, while keeping MRI as complementary for associated injury mapping.
5.2 Stress radiography: make it reproducible or do not do it
If you use stress views, standardize technique and reporting. The phrase PCL posterior drawer stress radiography should correspond to a defined method (positioning, force application, measurement landmarks, and side-to-side comparison), not a vague “stress x-ray.” Reference standards and measurement variability are key considerations discussed in Mabrouk et al. (2023).
5.3 Communicating likely reconstruction needs (without overpromising)
Multiligament planning is individualized (timing, staging, graft choice, alignment, and rehab constraints). Surgical technique choices continue to evolve, including approaches described in Tajima et al. (2023). Long-term outcome expectations and complication profiles should be framed cautiously and based on the broader evidence base, including follow-up synthesis from Moews et al. (2026).
For PCL-based reconstructions and combined injuries, residual laxity can matter clinically and biologically; maturation timelines and correlations with laxity are discussed in Vermorel et al. (2026). That is one reason to document baseline and follow-up stability metrics carefully, rather than relying on a single early exam.
5.4 Disposition and follow-up checklist (handover-ready)
- Immobilization: device type, locked angle, weight-bearing status, and crutch instruction.
- Neurovascular re-checks: document post-reduction and pre-discharge status explicitly.
- Clear return precautions: worsening pain, numbness, cool foot, increasing swelling, new weakness.
- Follow-up timing: early specialist review for suspected multi-ligament injury patterns or PLC involvement; schedule repeat exam when guarding decreases.
- Rehab coordination: align progression with objective stability where possible, and connect functional progress to milestones to reduce premature return in unstable knees.
Before surgery (or a definitive nonoperative plan), multiligament knee injury assessment should leave a clear audit trail: mechanism, serial neurovascular exams, sided laxity pattern, imaging performed, and rationale for escalation or discharge.
5.5 Key takeaways and next steps
- Prioritize limb safety: serial neurovascular exams are part of the exam, not an optional add-on.
- Think in patterns: collateral plus cruciate plus PLC is common in high-energy mechanisms and some low-energy dislocations.
- Standardize documentation: repeatable checklists reduce missed structures and improve handovers.
- Use complementary tools wisely: manual tests, imaging, and objective measures each answer different questions.
Next steps after multiligament knee injury assessment: ensure safe immobilization and follow-up, schedule reassessment when guarding improves, and escalate urgently if vascular or progressive neurologic concerns appear.
6. Clinical references (PubMed)
1) 2026 — Super et al. — Multiligament Knee Injuries. — J Bone Joint Surg Am — DOI: 10.2106/JBJS.26.00134 — PMID: 41984925 — PubMed
2) 2023 — Mabrouk et al. — Reference standards for stress radiography measurements in knee ligament injury and instability: a systematic review. — Knee Surg Sports Traumatol Arthrosc — DOI: 10.1007/s00167-023-07617-3 — PMID: 37923947 — PubMed
3) 2023 — Tajima et al. — Remnant-Preserved Single-Bundle Anterior Cruciate Ligament Augmentation in Multi-ligamentous Knee Reconstruction. — J Knee Surg — DOI: 10.1055/s-0042-1749603 — PMID: 35688445 — PubMed
4) 2026 — Vermorel et al. — Autograft Posterior Cruciate Ligament Reconstruction Shows Delayed Maturation and Correlates With Residual Laxity After Multiligament Knee Reconstruction. — Arthroscopy — DOI: 10.1002/arj.70017 — PMID: 41838545 — PubMed
5) 2026 — Moews et al. — Outcomes Following Multiligament Knee Injuries: A Systematic Review of Studies With a Minimum 7-Year Follow-up. — Orthop J Sports Med — DOI: 10.1177/23259671251407247 — PMID: 41908659 — PubMed